Step-by-Step Guide to Smart Temperature Control Using Google Nest Mini and Google Nest Learning Thermostat (4th Gen)


Posted:
June 06, 2026
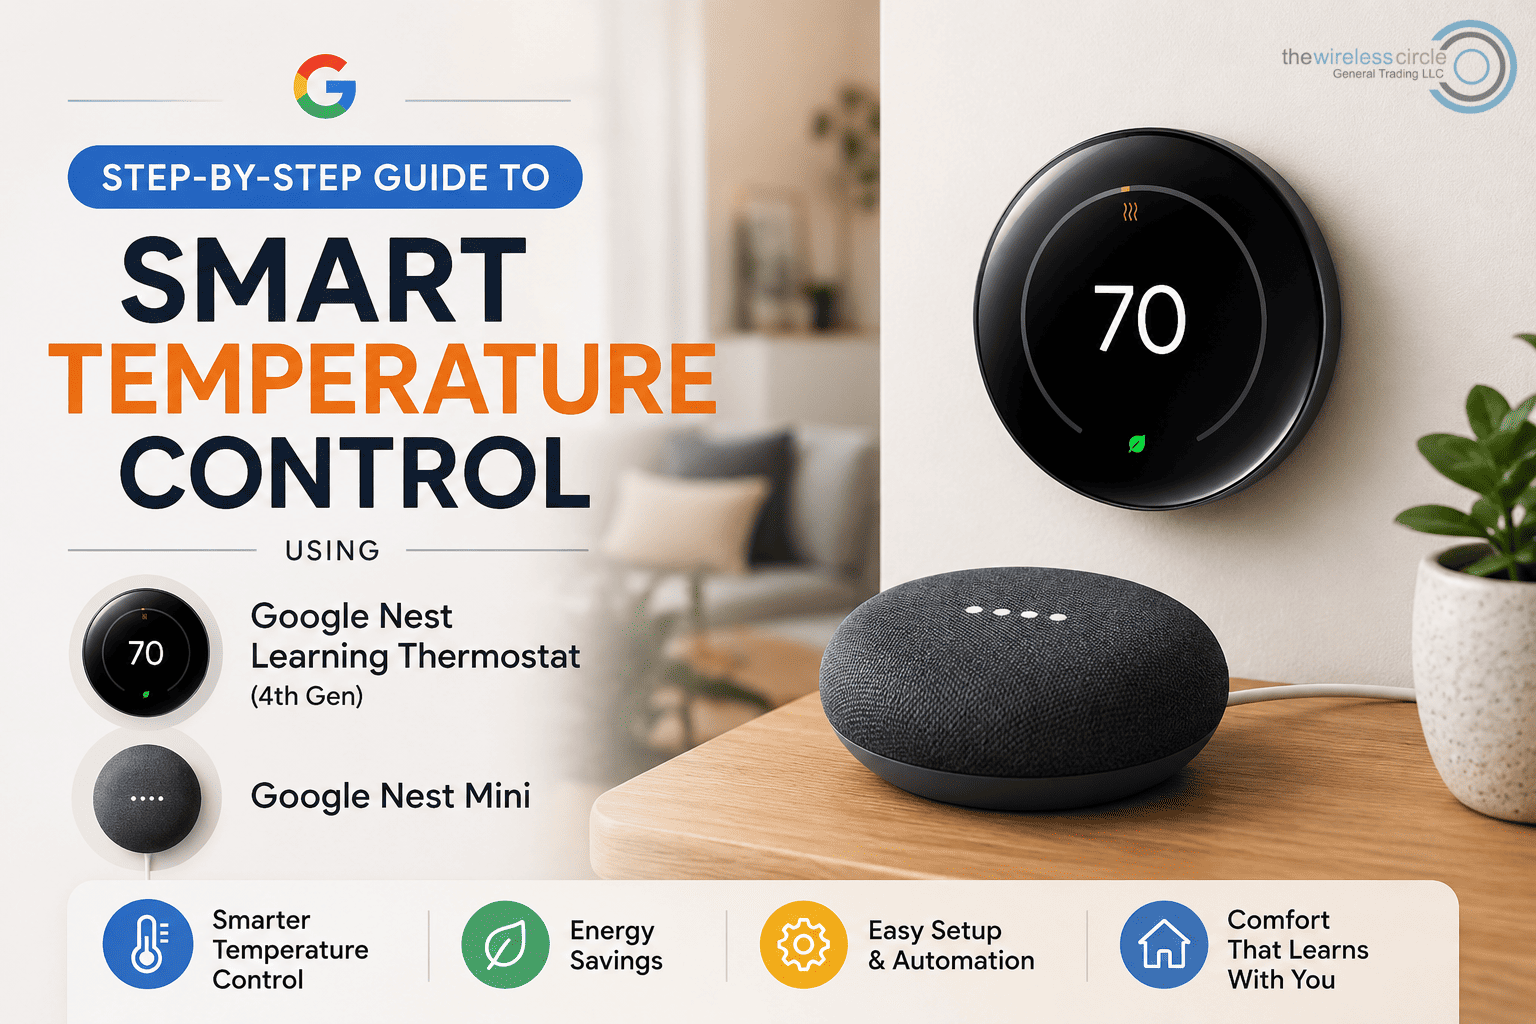
Smart homes are no longer a luxury—they’re quickly becoming the new normal. One of the easiest ways to start your smart home journey is by combining the Google Nest Mini with the Google Nest Learning Thermostat (4th Gen). Together, they create a powerful system that helps you control your home temperature with just your voice or automatic routines.
In this guide, we’ll walk you through a simple step-by-step setup so you can enjoy smarter comfort, better energy savings, and effortless control.
Why This Combination Works So Well
The Google Nest Mini acts as your voice assistant, while the Nest Learning Thermostat learns your preferences over time. When connected, they allow you to say things like:
“Hey Google, set the temperature to 24 degrees.”
Or even better, automate it completely so you don’t have to say anything at all.
As smart home users often say:
“Once your home starts learning your habits, you stop thinking about switches altogether.”
That’s exactly what this setup does.
Step 1: Install Your Nest Learning Thermostat
Start by installing your Nest Thermostat on the wall. Make sure it’s connected to your HVAC system properly. Once installed, download the Google Home app on your phone.
Follow the on-screen instructions to:
- Connect to WiFi
- Link your Google account
- Name your device (e.g., “Living Room Thermostat”)
Step 2: Set Up Your Google Nest Mini
Plug in your Nest Mini and open the Google Home app. Add a new device and connect it to the same WiFi network.
Make sure your:
- Google account is the same on both devices
- Location settings are enabled
- Microphone is turned on
Once connected, your Nest Mini becomes your voice control hub.
Step 3: Link Both Devices in Google Home
This is the most important step. In the Google Home app:
- Go to “Devices”
- Select your Nest Thermostat
- Assign it to a room
- Ensure it’s linked to the same home as your Nest Mini
Now both devices can communicate seamlessly.
Step 4: Create Smart Temperature Routines
Now the fun part begins—automation.
You can create routines like:
- Turn AC ON when temperature goes above 26°C
- Turn heating/cooling OFF when you leave home
- Set “Good Night” mode to 24°C automatically
To do this:
- Open Google Home app
- Go to “Routines”
- Add triggers like time, voice command, or temperature
This is where real energy savings begin.
Step 5: Control Everything with Your Voice
Once setup is complete, you can use voice commands like:
- “Hey Google, set bedroom temperature to 23 degrees”
- “Hey Google, turn off the AC”
- “Hey Google, what’s the current temperature?”
It feels simple, but it completely changes how you interact with your home.
Energy Saving Benefits
Using this setup can help reduce unnecessary cooling and heating. Smart scheduling ensures your system only runs when needed, which can lower electricity bills over time.
Many users report noticeable savings after switching to automated temperature control systems.
Final Thoughts
If you’re looking to upgrade your home into a smarter and more energy-efficient space, combining the Google Nest Mini with the Nest Learning Thermostat (4th Gen) is one of the best starting points.
At The Wireless Circle, we help customers build smarter homes with the latest Google Nest devices and accessories. You can explore more smart home products and guides on our website: https://www.thewirelesscircle.ae
Comment(s)