Google Nest Cam Battery solar power
-
 Posted: September 24, 2025Categories: CameraRead more
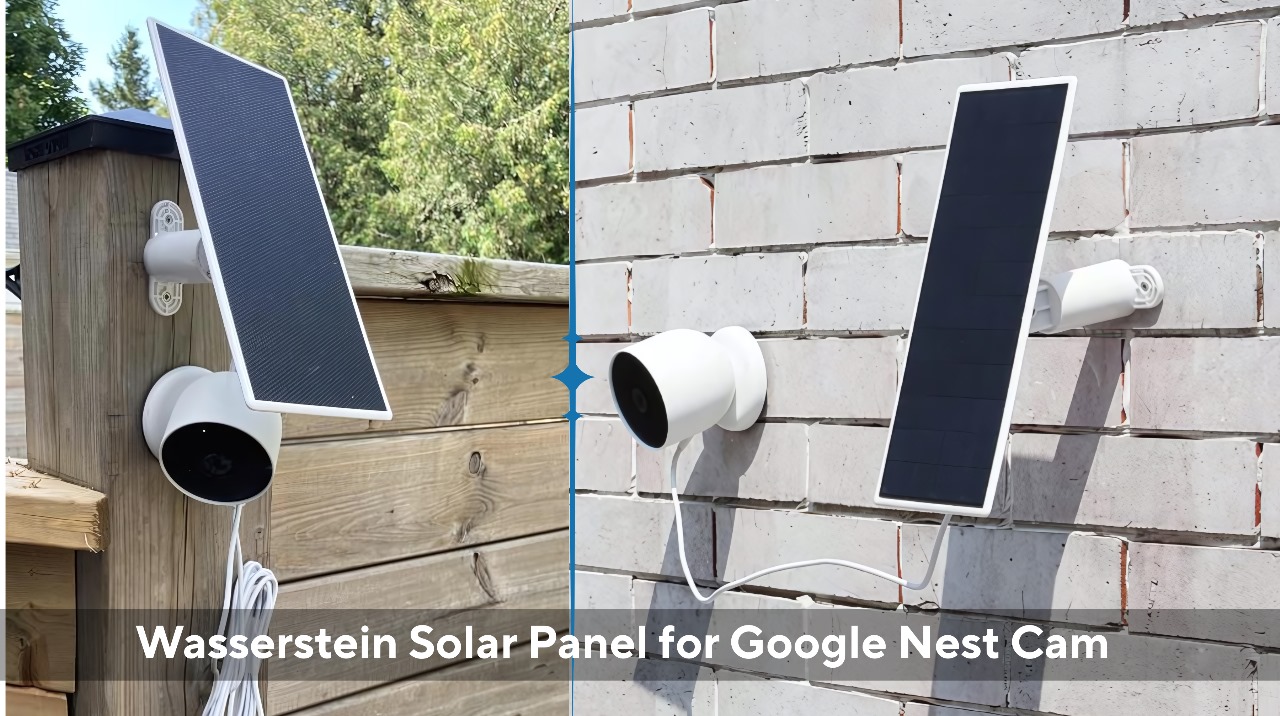
If you own a Google Nest Cam (Battery), you already know how convenient it is for keeping your home safe. But constantly recharging the camera can feel like a chore. That’s why many homeowners choose the Wasserstein Solar Panel for Nest Cam — it keeps your device powered with clean, renewable energy.
The good news? Installing the panel isn’t complicated at all. In fact, you can set it up in under an hour with just a few tools. This guide will walk you through the step-by-step installation process, so your Nest Cam can stay charged and you can stop worrying about climbing ladders every few weeks.
What You’ll Need
Before we jump in, here’s what you should have handy:
- Wasserstein Solar Panel (compatible with Google Nest Cam Battery)
- Google Nest Cam (Battery)
- Mounting bracket and screws (usually included with the panel)
- A drill or screwdriver
- A ladder (if mounting high up)
Step 1: Choose the Right Location
The most important factor in getting the best performance is sunlight exposure.