Installing the Nest Power Connector Without a C-Wire: A Beginner’s Guide


Posted:
September 30, 2025
If you’ve recently purchased a Google Nest Thermostat, you might have run into a common roadblock: your HVAC system doesn’t have a C-wire (also known as the “common wire”). Don’t worry—you’re not alone. Many homeowners discover this when trying to install their smart thermostat, and that’s exactly where the Google Nest Power Connector comes in.
This simple little device takes the stress out of installation and ensures your thermostat has a consistent power supply. In this guide, we’ll walk you through how to install the Nest Power Connector without a C-wire—step by step, in plain English.
Why Is the C-Wire So Important?
The C-wire supplies continuous power to your thermostat. Without it, your Nest Thermostat may rely too much on its built-in battery, leading to frequent low-battery warnings or even unexpected shutdowns.
As one Nest user put it:
“I loved my Nest Thermostat, but I hated running back and forth to recharge it every few weeks. Installing the Power Connector was a game-changer.”
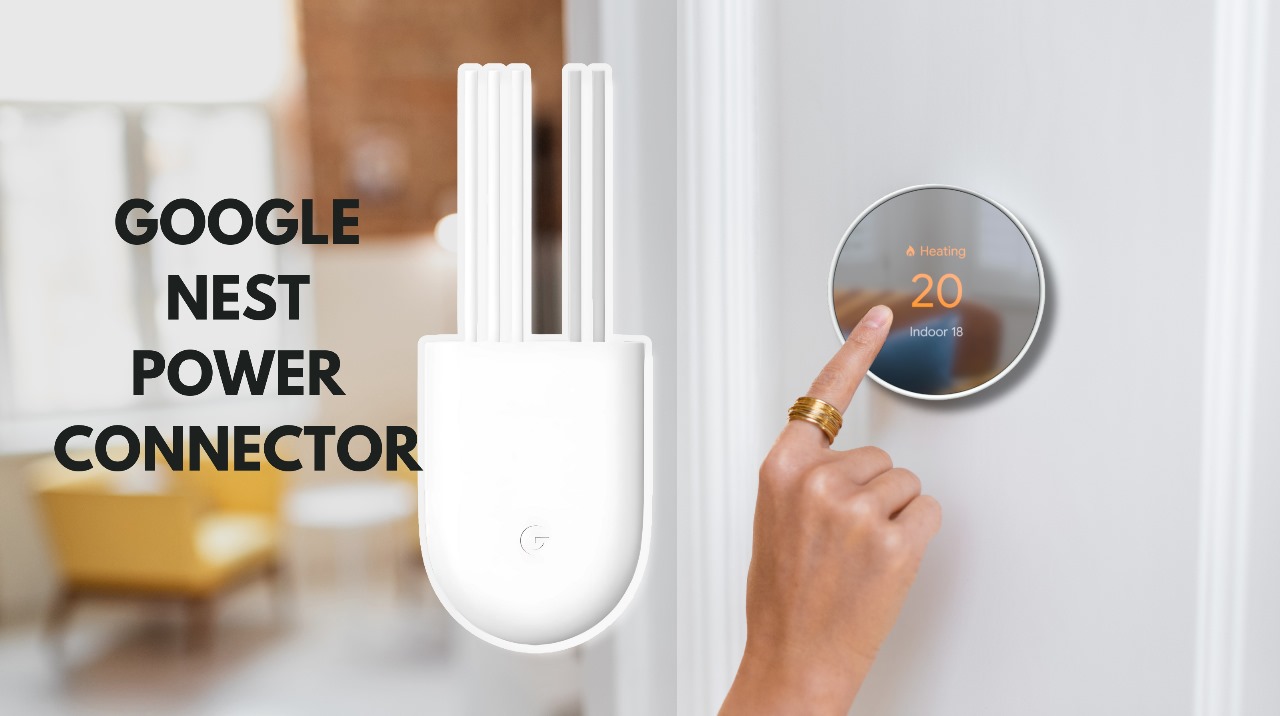
The Nest Power Connector is Google’s official solution for homes without a C-wire. It’s affordable, easy to install, and designed to be compatible with most HVAC systems.
What You’ll Need
Before starting, grab these essentials:
- Your Google Nest Power Connector kit (it comes with the connector, mounting plate, and wires).
- A screwdriver.
- Your Nest Thermostat.
- A little patience (no advanced electrical skills required).
If you don’t have the Power Connector yet, you can pick it up at The Wireless Circle.
Step 1: Turn Off Power to Your HVAC System
Safety first! Head to your circuit breaker and switch off the power to your furnace or HVAC system. This ensures you can work safely without risking a shock.
Step 2: Locate Your Furnace Control Board
The Power Connector works by attaching to the control board inside your HVAC system. Open the panel on your furnace or air handler and look for the wiring connections—these are usually labeled (R, G, Y, W, C).
Step 3: Connect the Wires
This is where the Nest Power Connector shines—it’s designed for beginners. Simply match the wires according to the instructions included in the kit:
- Connect the Power Connector’s wires to the corresponding terminals on your furnace control board.
- Plug the thermostat wires into the other side of the connector.
Everything is color-coded and clearly labeled, so no guesswork is required.
Step 4: Mount the Connector
Use the mounting plate included in the kit to secure the Power Connector inside the furnace. This keeps it neat and prevents loose wires from getting in the way.
Step 5: Restore Power and Test
Once everything is connected and mounted, close your furnace panel and restore power at the breaker. Your Nest Thermostat should now power on without battery issues.
Check the thermostat display—if it’s working properly, congratulations! You’ve just installed your Nest Power Connector without needing a C-wire.
Why the Nest Power Connector Makes Life Easier
Here’s the best part: once installed, you won’t have to worry about charging or replacing batteries again. Your thermostat will have a steady power supply, and your HVAC system will run more efficiently.
As another happy customer shared:
“I was nervous about wiring, but the Nest Power Connector made it almost foolproof. It saved me the cost of calling an electrician.”
Final Thoughts
Installing a smart thermostat doesn’t have to be complicated—even if your home doesn’t have a C-wire. With the Google Nest Power Connector, you can enjoy all the benefits of a Nest Thermostat without the hassle.
If you’re ready to make your installation easier, grab your Nest Power Connector today at The Wireless Circle or visit us online at thewirelesscircle.ae.
Comment(s)